
From Pantry to Powder Room: Reclaimed Wood and Metal That Transform Daily Rituals
Start With the Story, Then the Sketch
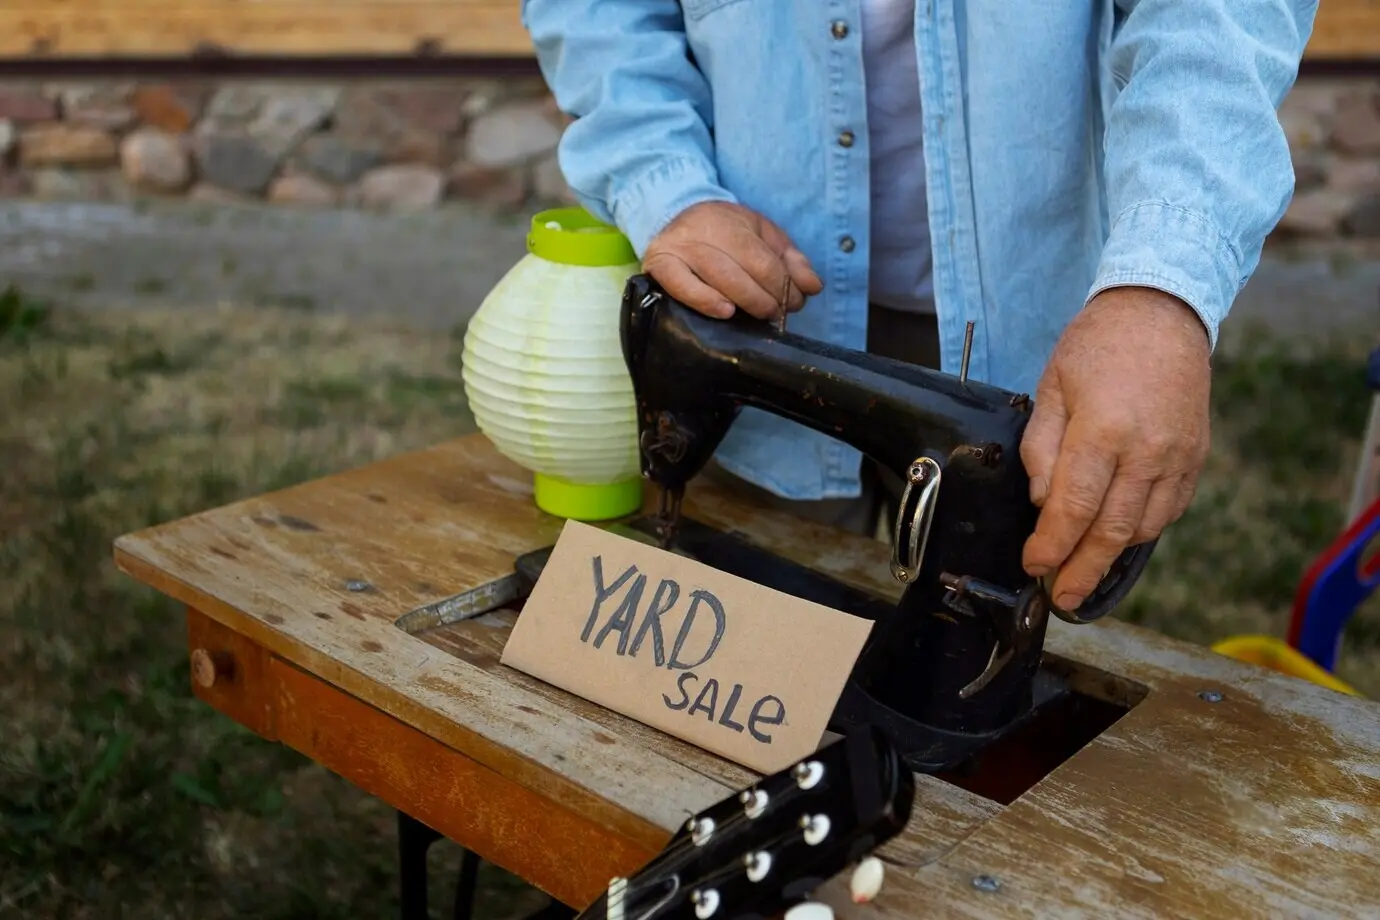
Sourcing That Respects Place and Budget
Visit architectural salvage yards, demolition auctions, farm outbuildings, and community exchanges with measurements in hand. Prioritize straight stock, minimal rot, and manageable weights. Ask about provenance, pests, and treatments. Photograph bundles, tag pieces, and negotiate bundles by board-foot or weight to stretch funds without sacrificing structural reliability or authenticity.
Assessing Hazards Before They Enter Your Home
Test for lead paint, asbestos adhesives, and oil contamination, especially on industrial metal and trim. Scrape samples responsibly, use PPE, and consult local labs. Reject suspicious materials. Quarantine promising pieces outdoors, then clean, denail, and dry to stable moisture content before bringing them near kitchens, baths, or children.
Designing Flow for Cooking and Bathing Routines
Map reach zones, swing clearances, and splash areas, then test with cardboard mockups. Place metal where heat or hooks are helpful, wood where warmth and touch matter. Leave breathing gaps for expansion, plumbing access, and cleaning tools so upgrades simplify life instead of adding fussy chore lists.
Kitchen Staples, Reimagined with Character
Floating Shelves with Forged Brackets
Mill reclaimed boards flat, reinforce with hidden steel and wall anchors, then finish with food-safe oil or hardwax. Position near spices and cups for quick reach. A darker patina contrasts tile backsplashes, while under-shelf LED strips brighten tasks without stealing sightlines or overwhelming delicate vintage grain.
A Ladder Pot Rack That Tells Stories
Mill reclaimed boards flat, reinforce with hidden steel and wall anchors, then finish with food-safe oil or hardwax. Position near spices and cups for quick reach. A darker patina contrasts tile backsplashes, while under-shelf LED strips brighten tasks without stealing sightlines or overwhelming delicate vintage grain.
Island on Casters with Mixed Materials
Mill reclaimed boards flat, reinforce with hidden steel and wall anchors, then finish with food-safe oil or hardwax. Position near spices and cups for quick reach. A darker patina contrasts tile backsplashes, while under-shelf LED strips brighten tasks without stealing sightlines or overwhelming delicate vintage grain.
Bath Retreats with Industrial Grace
A Vanity That Laughs at Humidity
Build a vanity box from straightened barn planks with a backer of moisture-resistant plywood. Use black-oxide steel legs or pipe frames, raising the cabinet for airflow. Wrap cutouts with epoxy to resist drips, then finish with marine-grade varnish so toothpaste splashes wipe away without drama.
Mirror Frames That Echo Old Barns
Miter reclaimed stiles, reinforce corners with biscuits, and inset the glass with clips that allow seasonal movement. A brushed steel lip protects the vulnerable bottom edge from stray water. Warm tones flatter skin, while the subtle irregularities remind morning routines that time can weather materials beautifully.
Shelves That Float Above Steam
Anchor galvanized brackets into studs through waterproofed tile, then cap with sealed boards and a small upstand to corral bottles. Leave breathing space behind to avoid mildew shadows. The result feels airy, keeps essentials visible, and saves under-sink cabinets for towels and backup paper goods.
Finishes, Seals, and Care That Last
Food-Safe Choices for Counter Edges and Boards
Choose mineral oil, fractionated coconut oil, or certified hardwax oils for contact zones, refreshing frequently. Seal end grain heavily. Where heat or sinks threaten, transition to a metal landing strip. Avoid film finishes on chopping areas; reserve tougher coatings for splash zones and drawer faces.
Stopping Rust Without Erasing History
Stabilize steel with a phosphoric-acid converter, then neutralize and clear-coat in satin so tool marks remain visible. For contact surfaces, wax over clear as a sacrificial layer. In wet rooms, add hidden drainage and felt pads to reduce standing moisture and galvanic corrosion between metals.
Waterproofing the Invisible Parts
Back-prime boards, seal cut edges, and caulk fastener penetrations before assembly. Use Schluter-style membranes behind splash zones, and choose stainless screws where condensation forms. Thoughtful invisibles prevent swelling, odor, and mold, extending the life of cherished pieces while making everyday scrubbing faster and far less worrisome.
Cutting and Drilling Without Drama
Fasteners, Glues, and Hidden Strength

Sanding, Patina, and Edges That Invite Touch
Measure What You Divert and Celebrate Wins
Ask Questions, Trade Offcuts, Build Belonging
All Rights Reserved.